BOOSTING the CROP
I wanted to share another recent and (I think) successful experiment. I've had this idea rattling around in my noggin for some time and then I stumbled across a rubber based matt when wandering through IKEA - the time had come.
There's nothing new about using these coir mats for crops in wargaming I know. Whilst they are a lovely natural colour most people leave them unpainted and that's where I have a bit of an issue. Unless you are representing some dried out and dead crop as a result of drought, you need to paint it - at least in 28mm scale. Cereal crops at 28mm scale at the height that these mats come in are too short to represent mature, ripened cereal crops. The coir is a good representation for ripened wheat (for instance) but it needs to be taller - say twice as tall at least. So, we have two options - either paint them green to represent a young and immature crop or boost it.
I also wanted to build a crop which had a defined border or edge but with a centre which can be removed and moved around to allow figures to pass through it. For years I (like many) have been plonking my miniatures on top of these mats - which looks awful. Well, no longer!
To boost the crop I flipped the rubber based mat upside down and marked and cut out the desired shape. I then marked and cut out the inner section and set it aside. I then flipped what was a ring of coir right side up and traced it onto two sheets of 5mm foam core board and cut them out with my scalpel.
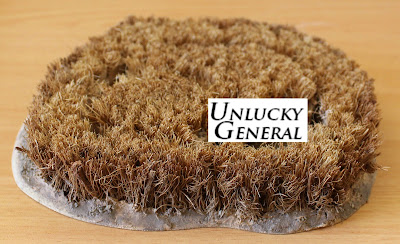
I stacked the two layers of foam core and glued them onto a cut and chamfered piece of shaped ply-wood and then glued the coir ring on top. I then took to an older, woven coir mat which used doubled over coir (see image below) and pulled the coir plugs out before straightening them and gluing them to the outer edge of my coir crop ring using Selleys Liquid Nails (original formula).
When set and dry, I trimmed the outer, affixed coir to the same level as the stacked rubber based coir ring. I then coated the inner edges of the foam core with pre-mixed wood putty which I also smeared all over the based before adding my dirt texture mix. When set, I fixed everything with 50/50 diluted PVA after spraying with isopropyl alcohol.
I did the same for the inner (removable) sections except for fixing the longer, straightened coir - I didn't see the need. If you are thinking it's a small crop - you'd be right. This was my experimental piece and bigger versions are on the way. I'm also thinking about playing with uniform rectangular sections on a base mat of some material without a defined border. What the hell - you can't have enough miniature agriculture.


I've had one of these mats for a while and must get around to cutting it up. The aim is to use it for ACW, but the resultant "fields" can be used for any period.
ReplyDeleteYou have some good ideas. I had an earlier mat but it wasn't rubber backed and fell apart when cut as it was stitched together. Still provides some bits to use for scenics.
Thanks SoY - I forgot top mention I'm also following a principle that nature abhors a straight line - so I try for more irregularity these days.
Delete