IBERIA: Finale - Battle for Ciombra


The continuation of the campaign relied on a French victory and likely it would need to be a decisive one. If Grant could maul enough of my forces, I would be forced back on the campaign map and risk multiple losses from retreat attrition rolls.


 Prudently, the KGL squadron returned to their own lines having suffered one casualty and becoming disordered from the artillery melee.


Meanwhile The 79th Cameron Highlanders and the other charging Young Guard battalion (both 'huge' units) inflicted casualties on each other in excess of Stamina but drew the first round of combat. Nevertheless, as both participants in a drawn melee were now Shaken, both required a break-test. The Cameron's passed but the Young Guard broke - saints be praised!

The Allied third turn saw British units consolidating and supporting the front line to hold the front. Attention turned to the Allied left flank which saw the 52nd Oxfordshire Light Infantry finally deploy into skirmish formation (second attempt) and press forward into the woods to match the French Light Infantry. To their right flank, battalions of the KGL adopted Mixed Formation and sent their skirmishers into the woods also.

We diced randomly for the battleground with 50% chances for hills, then woods, then buildings/villages, crops and field boundaries (walls, hedges). If they are present, we dice for numbers and locations. The defender may place an additional village anywhere along their deployment line also.

As you can see, three of our five hills fell adjacent to one another forming a ridge near one end of the table - a defender's dream. As I was defending and I had purchased Wellesley himself to command this defence (50 points) I got to chose which side to set up - so I defended from the end closest to the ridge rather than a side and aimed to form line across it.

Grant's French army consisted of four brigades of infantry (Guards/Light and two Line) and a mixed brigade of cavalry (seven squadrons). The French has two 8pdr heavy artillery batteries (two guns each) and a three gun horse artillery battery.

The Young Guard brigade had three 'huge' battalions with no spare points for further supports. They provided a menacing presence on the table-top to say the least and Grant would not hesitate to hurl them into the attack.

The French had to contend with an approach to the ridge with light woods and a village to obstruct their transit and cohesion.

All Allied units commenced in column of march to get them moving as fast as possible to the top and over that ridge. I had paid for three good commanders to make as much difference as I could to those risky command rolls.
The Allied army had four infantry brigades (Highland/Guards, KGL and Portuguese mixed) with a single mixed cavalry brigade of seven squadrons (KGL Hussars and Dragoons) with two two-gun 9pdr foot artillery batteries and a three piece rocket troop. I decided I needed to lob fire and fury over a fixed defensive line and rockets can do that like little else.

Grant and I toss a coin to determine initiative after each turn (his plus mine) which we feel enhances the fog of war effect. This can result in two consecutive turns for one side every now and again with unpredictable and often devastating consequences. The Allies won the first toss and kicked off the start line very successfully with only the dragoons dawdling in the rear.

I wasn't able to deploy my guns in the first move so felt compelled to push my KGL Hussars further forward to mask the guns. The French cavalry were on the same flank and with fair rolling and the initiative for turn two, he might have charged them down whilst limbered - a potential disaster.

From the first, the Allies attained the high ground and what's more, in unison. A very sound beginning for the Allies.

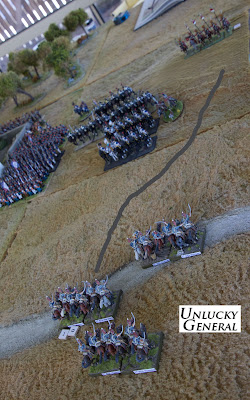
The French first turn was more uneven and more typical. They pushed forward rapidly on their left flank getting the cavalry and Young Guard well forward, with the centre line brigade easily taking the village and middle ground.

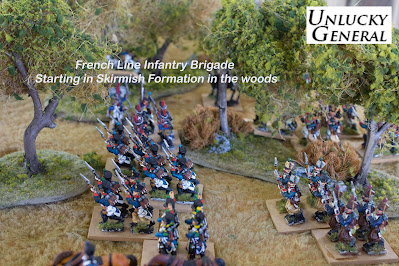
The Light Brigade battalions (in skirmish formation) on the French right made two of their possible three moves but the right most Line Brigade failed to shift.

The French had thrust so far forward on their left in fact that they were able to deploy that three-gun horse artillery battery on a small hill and charge a squadron of my KGL Hussars with a squadron of their lancers. As they did so without supports, I elected to counter-charge with the targeted squadron to good effect. The KGL won the melee, breaking the lancers and as they had counter-charged were permitted a sweeping advance right onto the French horse artillery. It is worth noting that units charged from a sweeping advance are not permitted closing fire.

Having suffered no casualties themselves, the little KGL squadron put four dice to the guns (re-rolling for Ferocious Charge) and routed them also - an unbelievable start. The French commander was not well pleased and who can blame him?


Whilst it was not my original intention, it became clear that the cavalry would have to remain in play (I had imagined them in reserve) and that I would need to move forward off the high ground with my infantry to give clear fields of fire for my artillery. I wasn't always successful in this as there has to be 6 inches clearance of friendlies from your guns even at elevation for overhead shooting. At the second Allied turn, the right flank battery deployed as did the rocket battery at the ridge centre.

The French commenced taking casualties from an extending line of skirmishers and from the guns and rockets. In doing so; however, my rockets did as much damage to themselves as the enemy and after only two or three rounds of firing, they destroyed themselves through misfire. Less is certainly more with those likely lads. Anyway, disorders were inflicted on enough French to stagger the Young Guard advance and stall that of the French dragoons.

The French cavalry put in an attack (albeit piecemeal) and once more a KGL squadron counter-charged.

This time, the French were victorious but were shaken in the process. Meanwhile the Young Guard leap-frogged their two non-disordered battalions forward but only by one move. Frustratingly for Grant, he failed to shift that centre Line Brigade out of the village so the Young Guard looked to be going it alone.

The French won the initiative for turn three. Whilst continuing to fail in shifting his centre Line infantry forward, the initiative did allow Grant two consecutive turns and with that put in a brigade charge into the leading British battalions. The last thing I wanted to deal with.

The 61st foot (Yellow ensign) used their First Fire together with Steady Line allowing them to shoot and counter-charge but inflicted little damage on the Young Guard. They then lost the melee against the 'huge' unit but amazingly, survived the break-test.


Taking the initiative, the allied cavalry sent in all four squadrons of the 4th Dragoons in mutual support together with the two remaining KGL squadrons. Then the infantry poured close range fire into the supporting, rear most Young Guard Battalion, shaking it and thus breaking the Young Guard Brigade (one routed, one shaken out of three breaks the brigade).
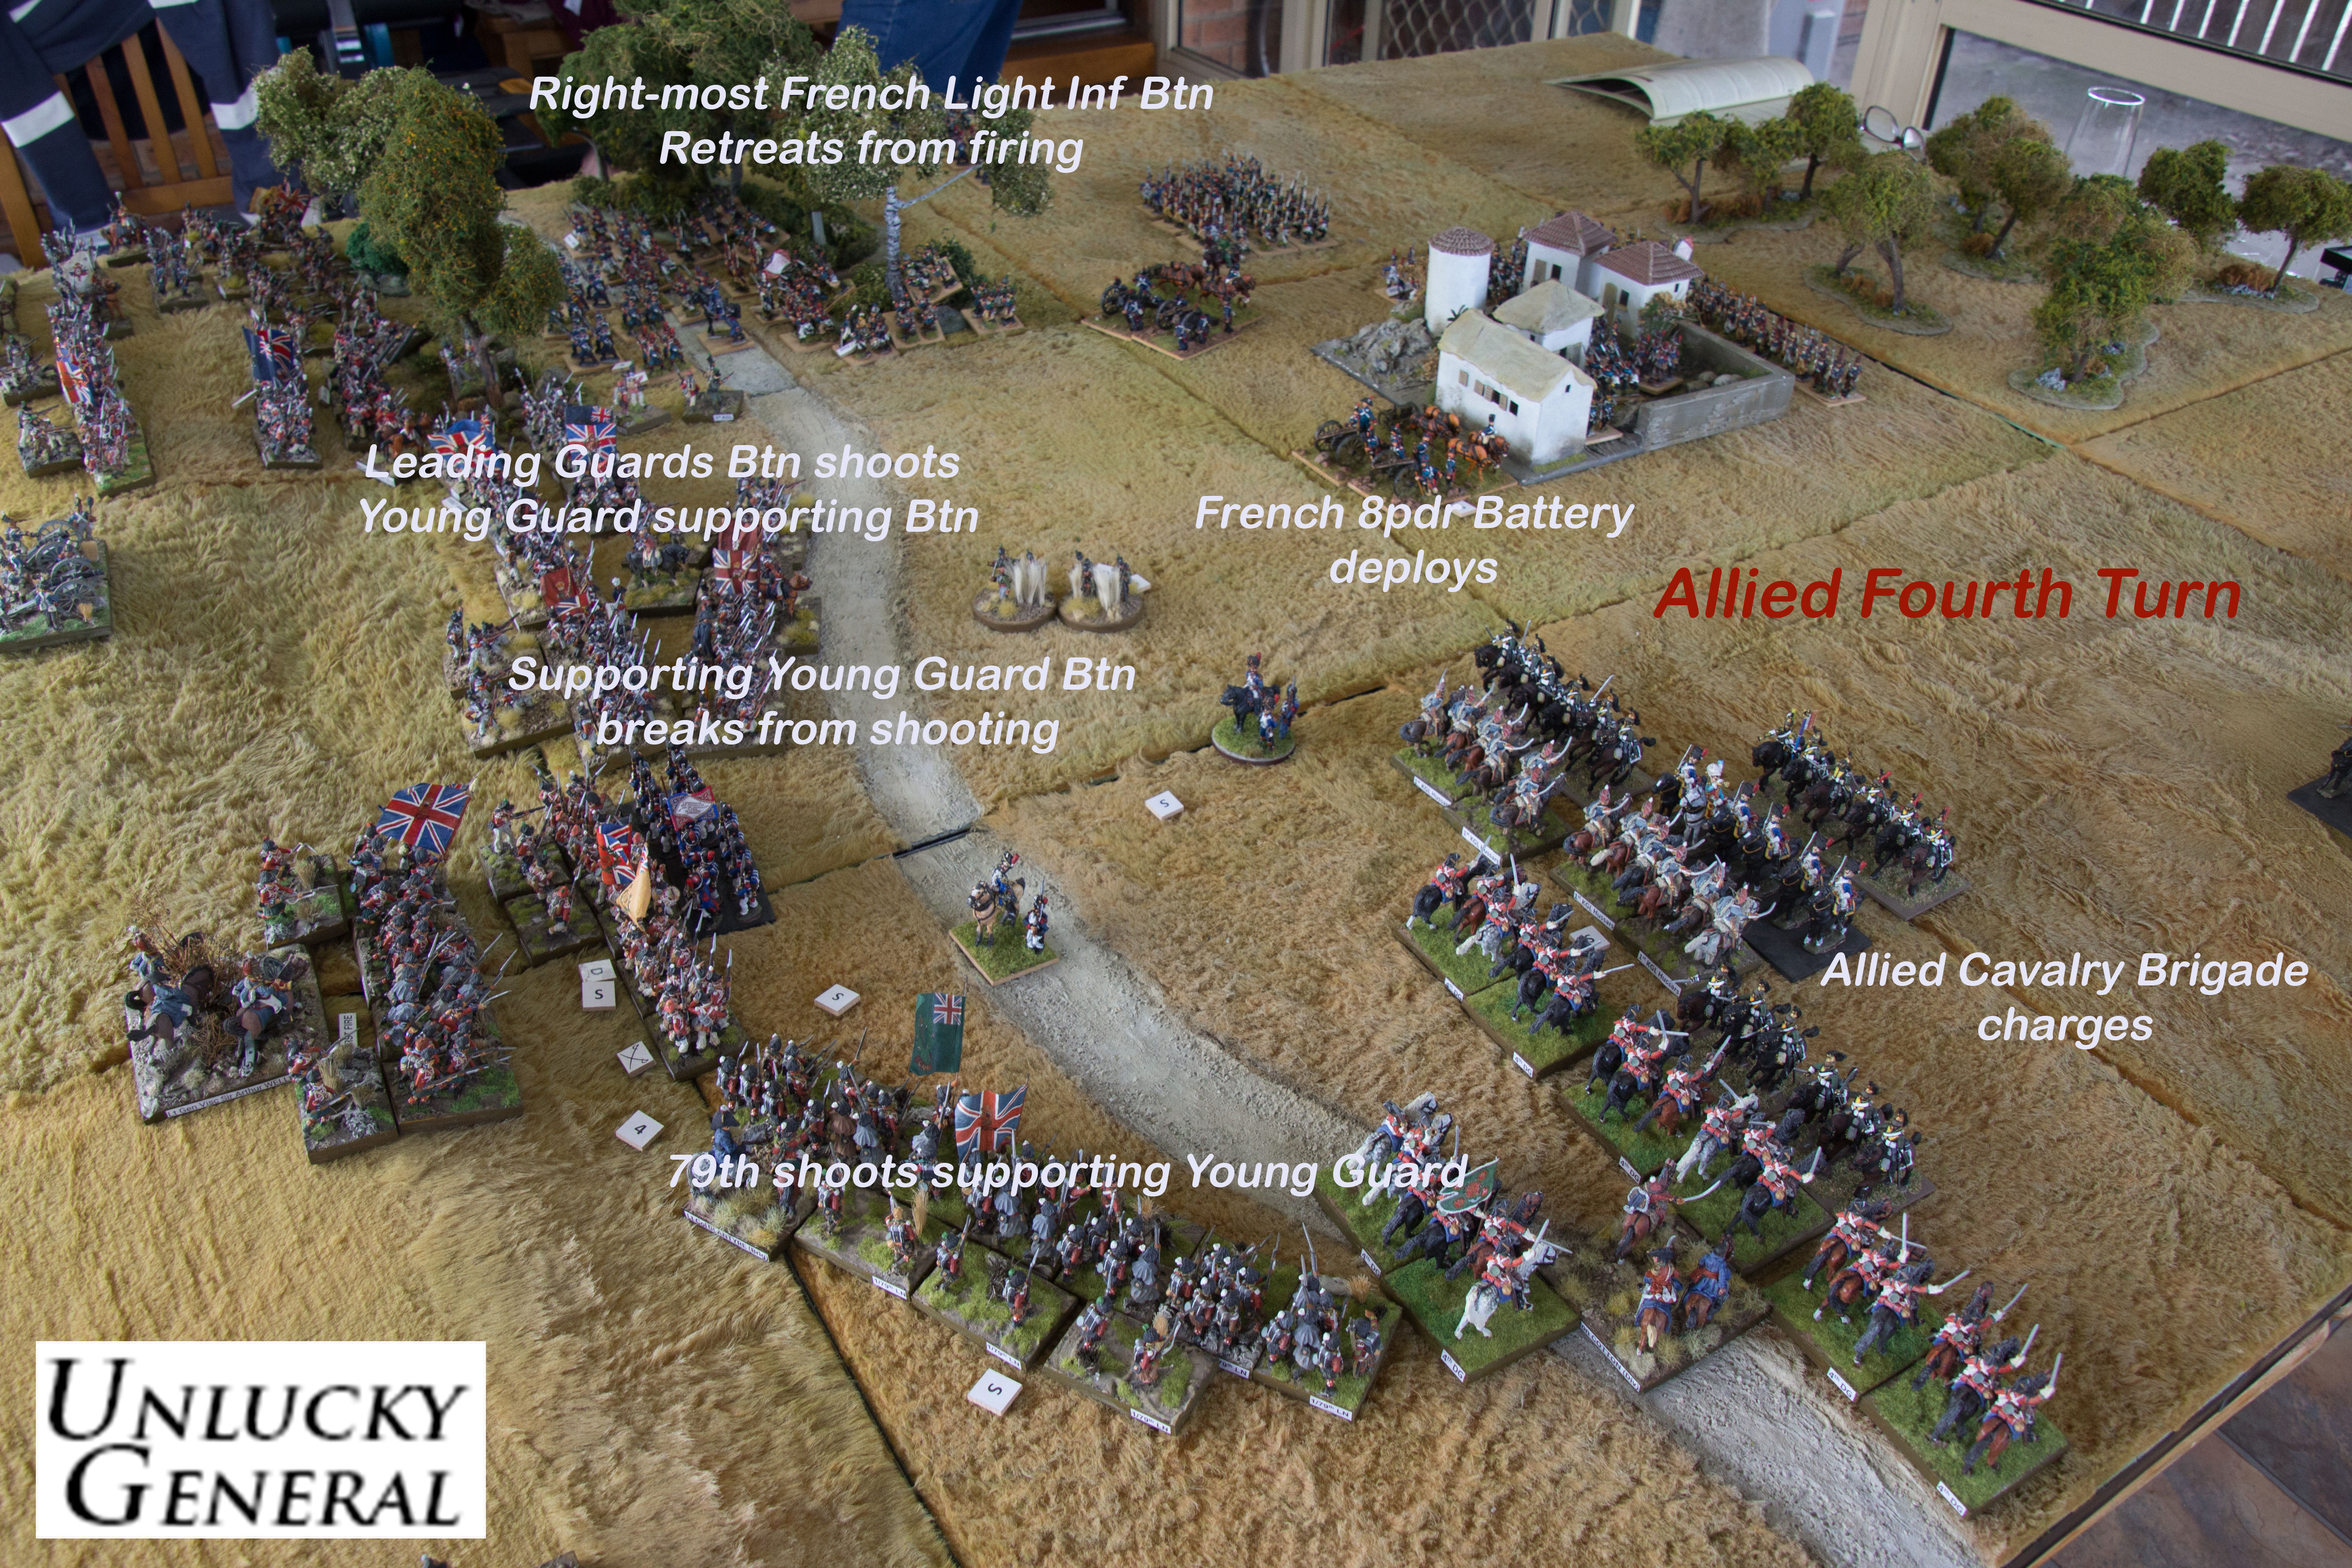
Whilst a hole had opened up in the French centre, the KGL Hussars were utterly routed and the Dragoons failed to break through - but held firm. The Allied centre also now faced a heavy battery which managed to deploy forward of the village. This battery all but reduced the leading British Guards Battalion to Shaken in one round.

The Allied shooting phase yielded great results and drove the French village battery off the field. It was a consistent trend by this stage of the game that almost everything was going the Allied way.

I had attached the cavalry commander Stapleton-Cotton to one of the combatant Dragoon squadrons and in the second round of combat remembered to add his dice to the fight. I also had him furiously rallying off casualties when I remembered to do so. In the end, this edge prevailed and the French cavalry gave ground. Perhaps more importantly, they were taking casualties - several of their squadrons were now shaken.

Now I've been fighting Grant's French for longer than Wellesley fought the real thing (25 years) and it's a rare thing to break his cavalry but co-ordinated squadron support, fortunate dice rolling and attrition on his exposed squadrons managed just that.

It was only then that the French managed to dig out of the village but with only a single battalion of standard Line infantry. As it transpired, this was too little, too late. Neither of us had been keeping track of the mounting casualties in the woods on the Allied left flank. Even in Light Infantry skirmish formation, the leading French battalions could only bring six shooting dice per turn for most of the game, whereas the 'huge' 52nd Foot Light Infantry (also in skirmish formation) with all four KGL skirmishers deployed fought back with nine dice. Over three to four turns, with a little Allied good luck and a little French bad luck, the French Light Brigade also broke.

Afterword
This ground couldn't have worked out better for the Allies to defend against an evenly matched force. It enabled elevated fire across the entire line from my artillery (when I kept my distance that is). I also managed to keep a very cohesive line, rendering a good deal of support to flanks and rear for units in combat - vital. British fire is always to be relied upon on average even with some bad dice rolling. On this occasion, the Unlucky General was not so unlucky.
The French approach became broken up and uneven, losing support. Grant had a reasonable expectation of his Line battalions moving up even with the Young Guard and cavalry over-reaching on his left flank. Inconsistent (generally bad) command rolls in spite of paying for good commanders enabled Allied fire to concentrate on isolated units in detail.
We are both well satisfied that the IBERIA campaign system works nicely. There will be more.


Superb looking game and a great report. the battle swayed back and fore but a great win for the allies.
ReplyDeleteThanks DM. I think I felt it sway more than it actually did. High drama on the table-cloth.
DeleteCool looking game.
ReplyDeleteCheers Ray. I doubt I get as many games in as you do - your last was a corker!
DeleteCracking stuff…
ReplyDeleteA lovely looking and sounding game.
All the best. Aly
Well, it was certainly a game and I had the worst of the dice. The young guard hammer failed to break the rock of the British infantry. Greg made some good decisions in his selection of the table end and his deployment. He deserves the accolades.
ReplyDeleteil y aura une prochaine fois! C'est la vie.